
Hello and welcome to another Photoshop Tutorial. Today we will learn how to create some custom shiny buttons that we can use in websites like the ones you see below:
 |
| Shiny buttons created with this tutorial technique |
So let's get started!
Step 1: Open Photoshop, create a New File and fill our Background with Black:

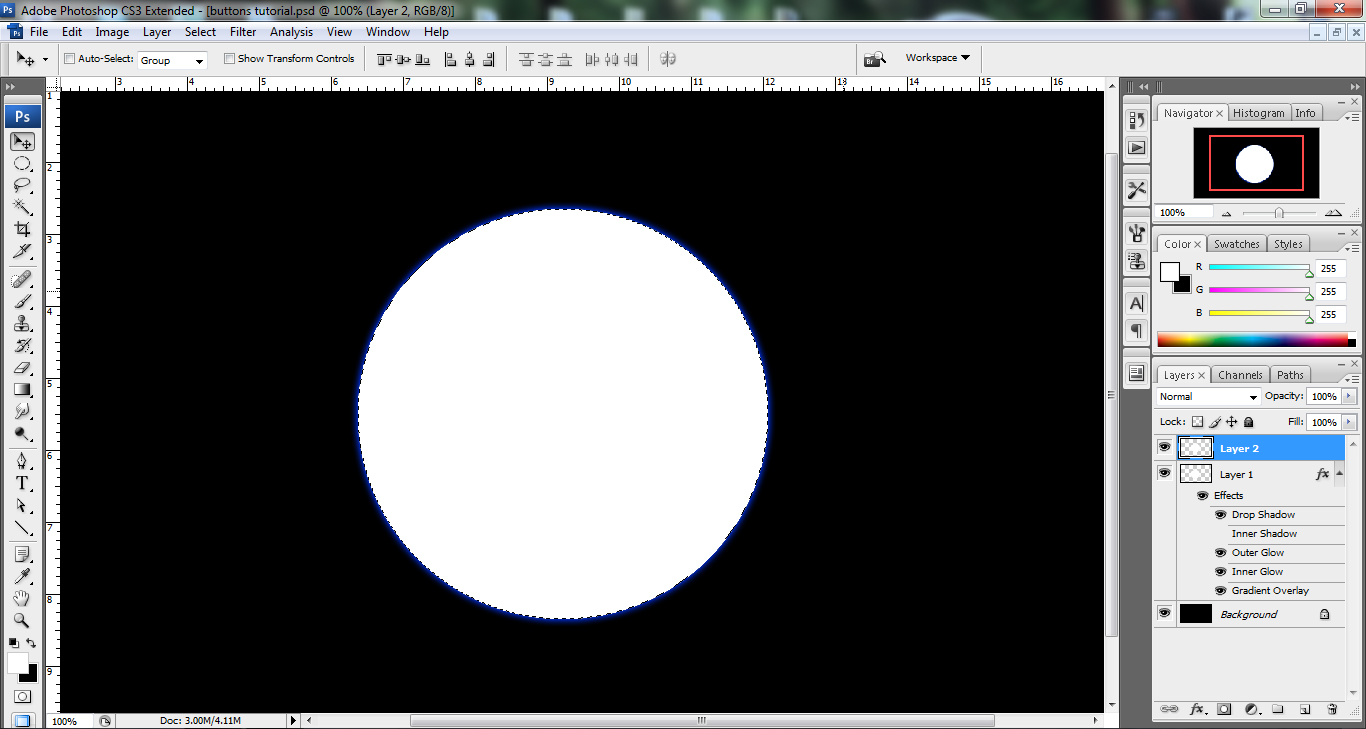
Step 2: Create a New Layer, select the Elliptical Marquee Tool and by pressing Shift drag a perfect circle:

Step 3: Fill the selection with White color (shorcut CTRL+Backspace if the colors are Black as foreground and White as background or Alt+Backspace if they are reversed). Press CTRL+D to deselect then Right Click the Circle layer, go to Blending Options and change the following settings like in the images:
Drop Shadow:

Outer Glow:

Inner Glow:

Gradient Overlay:

Step 4: Create a New Layer and CTRL+Click on Layer 1 (the circle layer) to make a selection of the circle:

Step 5: Fill this selection with White (CTRL+Backspace or Alt+Backspace):
Step 6: Press CTRL+D to deselect and move this white circle like in the image below:

Step 7: Press CTRL+Click again on Layer 1 to make a Selection of the blue circle:

Step 8: Press SHIFT+CTRL+I to Select Inverse and hit Delete on your keyboard to get rid of the excess part:

Step 9: Press CTRL+D to deselect everything and lower the Opacity of this white circle Layer to 18%:

Step 10: CTRL+Click the Layer 1 (blue circle) again to make a selection of it. Create a New Layer and select a Soft Brush (200 px) and add a Highlight in the top-left part as you can see in the image:

Step 11: Lower this highlight Layer Opacity to 80%:

Step 12: Create a New Layer, I renamed it Symbol and by selecting the Custom Shape Tool (U) choose your desired shape from the list and by holding Shift create your simbol with White:

Move the shape to the center part of the circle:

Step 13: Right click the Symbol Layer, go to Blending Options and change the following:
Outer Glow (color pure white):

Stroke (color pure black):

And that's it ! We're done. We have learned how to create a shiny looking button in Photoshop by using some simple Blending Options and Layer Styles:

Feel free to comment, add your results or ask any question about this tutorial in the comment section below. Thanks for watching and I will see you next time with another tutorial !